Friday, April 27, 2012

Workshop Options

Workshop Options 

These workshops can be taught throughout the world, contact us with your location for pricing information.

If more than 8 people sign up for a class, Daniel assists in teaching with Karleigh so that everyone is given the needed attention while they make their books/projects.

15 people maximum per class

All students are required to bring a basic tool kit:

Pencil
Scissors
Bonefolder
Bookbinding Awl
Xacto Type Craft Knife
Cutting Mat
Metal Edged Ruler
Glue Brush (we recommend a 1" flat brush)

All other materials for the projects made will be provided by us for the class.


.....................................

 Ten Book Workshop
2 day workshop taught in 8 hours each day


Description: Each student has the opportunity to create and keep 10 different books. Historic and contemporary styles of books, bookbinding tools and techniques are discussed.

 We will cover the basics of bookbinding for beginners, but students of all skill levels are welcome.

The ten book structures are:
  • Single Sheet Book 
  • Chapbook 
  • Japanese Stab Bound Book 
  • Flower Fold Book 
  • Accordion Book with Pockets and Sewn Signatures 
  • Hinged Ledger Book 
  • Circle Accordion Book
  • Softcover Leather Longstitch Book
  • Hardcover Longstitch Book
  • Tapes Bound Book (A Traditional Hardcover Book) 


.....................................

The Cordbound Book
1 day workshop (8 hours)


Create a Traditional Quarter Leather Cordbound Book using modern methods and tools. The cordbound book dates back to the 5th century and was introduced when Byzantium monks established their first scriptorium, Byblos, in modern Lebanon. The Arabs were the ones to bring this style to life with all sorts of decorative work, gorgeous gold embossing and clasp closures. They still make the most wonderful cordbound books in the world. With your choice of leather and papers from around the world, you’ll create and keep your own cordbound book.

...............................................................
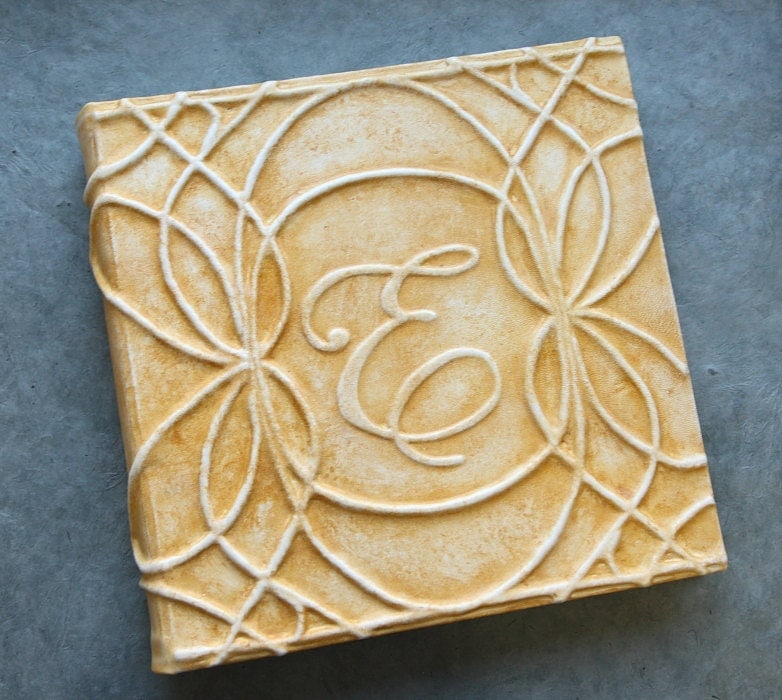
Raised & Inset Designs:
 Paper, Fabric and Leather
3 hour workshop


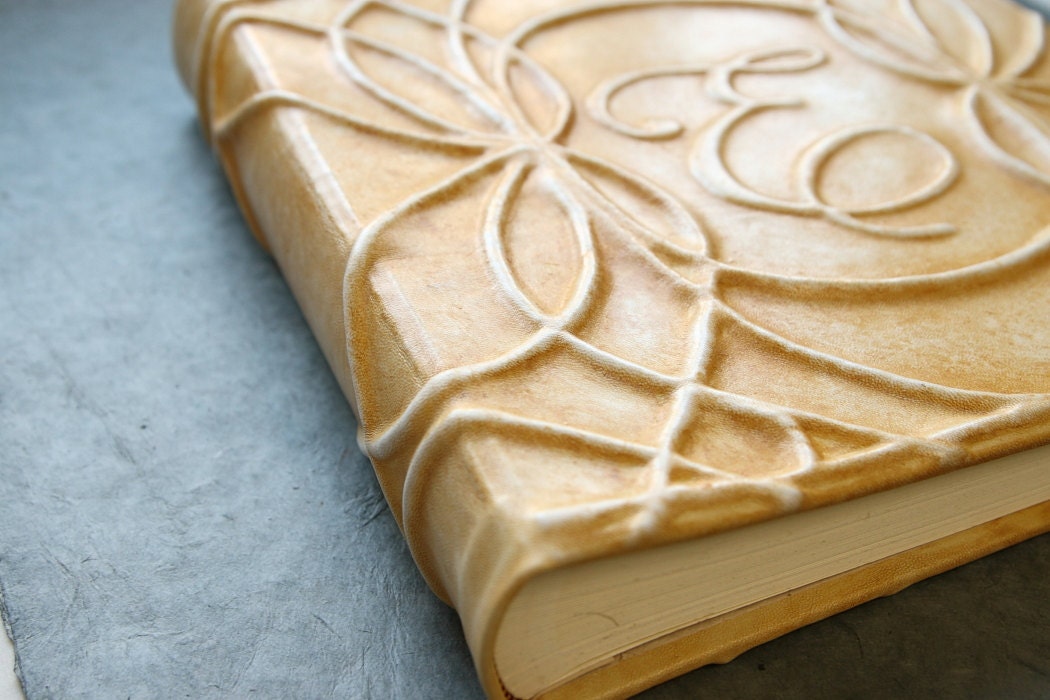
Give your books a little character! In this workshop each student has the opportunity to create 3 book covers with Paper, Fabric and Leather. Each book cover will have an inset or raised design of your choosing. Raised and Inset designs on spines of books are also demonstrated and discussed.

.........................................................
Exposed Stitch Books
2 day workshop (8 hours each day)

Celebrate the diversity of spines by creating 3 books in this 2 day workshop. Accordion Spine Hardcover Book, Ann Goye's Secret Belgium Binding and the Double Needle Ethiopian Coptic Stitch. We also cover button/thread closures, strap closures and other closures in this class.

......................................................................
Antiquing Paper + Leather
can be taught in 3-5 hours (more samples are examined with longer class time)


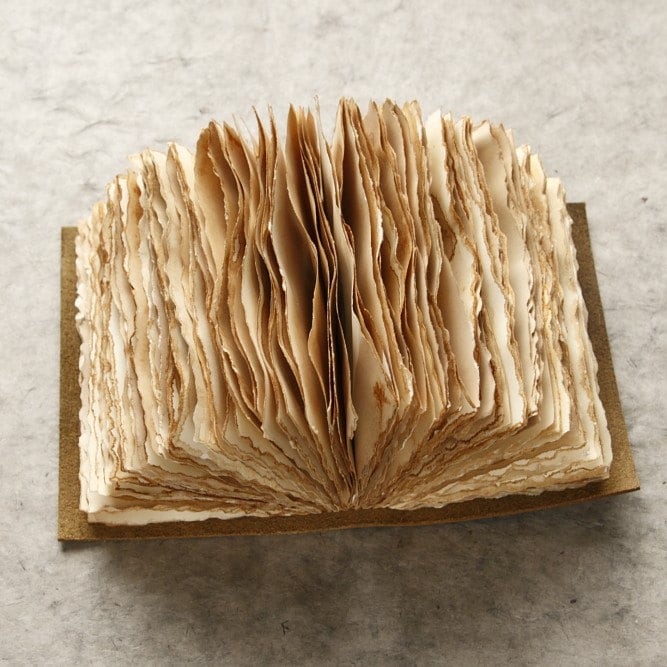
Create beautiful old looking books with new materials. Old books are lovely but most often are not sturdy. This workshop will show you how to antique the materials you work with to create an old world look on your newly bound books. Each student will have the opportunity to create small examples of different antiques to use for future reference as well as learn a variety of paper antiquing techniques.
 ..................................................................
Creative Boxes
2 day Workshop (7 hours each day)


Make a clamshell box for foundational box making skills and learn to create a variety of shapes, levels, secrets and trays with this box making workshop! Each student will build and keep their own clamshell box while learning tips and tricks for future box making adventures

.................................................................


Wednesday, April 25, 2012

Bookbinding 101: Binder's Board

Binder's board is what puts the hard in a hard bound book. Also called book board, Davey board, grey board and chip board (although chip board probably isn't what you actually want, but it is sometimes used as a synonym for binder's board).

Some types of binder's board are smoother than others. Davey board is a higher standard of board and has a smoother finish many other brands of binder's board.

Grain

Like paper, binder's board has a grain. If you buy large pieces, it's helpful to mark the grain direction across the whole piece in several places so that when you cut it down and have leftover scraps, you'll know the grain direction of those smaller pieces.

We have made some very large books that required extra thickness for the cover so we glued two pieces of book board together and pressed it overnight. Too large for any press, we placed a wooden board on top with heavy stuff, whatever we could find, on top of the wooden board. When gluing the two book board pieces together, we made sure to cross the grains, so that one board's grain went one way and the other board's grain ran the other. This helped the cover board to not warp after gluing them together.

Thickness

For box making, smaller books, and some rounded spines, we like to use a thinner book board that's .059" thickness (or about 1.5mm or 1/17"). For most of our other books, we like using thicker book board as it give our books a bit more heft. Also, with larger books, the thicker board lends more support and sturdiness to the book. The thicker board is .098" thickness (about 2.5mm or 1/10" thick). For books in the range of about 4"x5" (10.16 x 12.7 cm) to about 8"x10" (20.32 x 25.4 cm) we like .080" thickness of book board (about 2mm or 1/12").

Colors

Binder's board also comes in black and white. These are especially useful when using a thinner paper for your book's cover or end sheets if you do not want the typical grey binder's board to show through, but instead prefer either a black or white background behind the thin paper.

Black or white board can also be handy when making board books, the kind of books for toddlers with the heavy duty, no tear pages, which typically have white book board as the core of each page. Usually, board books have rounded corners, perhaps to make them safer for kids, but also because the rounded corner is more durable -- if the book had a ninety degree corner, a toddler would smoosh it out of shape in no time -- the rounded corner takes the wear and tear better. When making your own books, if you happen to drop a cover piece you are working on and it squishes just a bit, don't despair. Try using your bone folder to shape it back into place. If that doesn't work, consider turning the book's corners into rounded corners.

Anything to add to the discussion? Please leave a comment.

Saturday, April 21, 2012

Bookbinding 101: Paper for Pages

We prefer papers that can take handling during the process of bookbinding without too easily denting or otherwise showing signs of handling. It can't be completely avoided (it's paper, after all) but an 80 lb. text weight (118 gsm) is about right for us. It is more opaque than lighter weights, too, which is better for writing and drawing on both sides. We do use heavier papers, but 80 lb.  is our go-to journal and sketchbook paper. Specifically, we use Mohawk Solutions 80 lb. (118 gsm), Smooth, Soft White, 25"x38" (63.5cm x 96.52cm). It also comes in other dimensions, and weights, and finishes/textures (such as super smooth and vellum). Really, though, find a paper you like, or something cheap if you're just learning and don't really care about the characteristics of the paper. Eventually, you may want to move into something nicer, but maybe not, as you may find a package of printer paper suits you just fine. Mohawk papers are nice, but there are many different brands out there, and rather than getting hung up on it, we'd suggest to just get something and go to work.

If you do want something really nice for general purpose writing and drawing, the Mohawk Solutions is good, which is why we use it, but even nicer is Mohawk Superfine. You may not notice much difference between the two unless you are a paper snob, but, when comparing the same weight and finish/texture, we find there is a more luxurious feel about the Superfine compared to the Solutions. It also costs about twice as much. Not a deal breaker for making a few books, but for us, when making a lot of them, we find Solutions to be plenty good.

Art Papers

We also make books with heavier weight art papers, such as Rives BFK, Rising Stonehenge, and Nideggen. We use them either for artists who have specific paper preferences, or whenever a heavier and/or richer feeling paper is desired. Of course, these are not the only papers to consider, it's just what we have used, and we have liked using them.

The BFK is just plain nice to touch, with a more supple flex to it than the Stonehenge. For times when a stiffer page may be preferred, such as when you may want to adhere anything to it, such as photos, we recommend Stonehenge over BFK. Nideggen is a unique artist paper, has a sandy color, and because Nideggen is a laid paper it has a wavy surface texture.

Grain

Paper usually has a grain, usually running lengthwise. If you fold against the grain, it won't crease as nicely -- in fact, you may have to fight it to crease somewhat straight -- and it will be more likely to crack. You may or may not see any cracking in the paper when you first fold it, but over time as the book is used, it will be more likely to crack and tear out of the book. It also affects how well the book opens. Mind the grain.

It's easy to figure out the grain direction by folding over the paper without creasing. Do this in both directions, and the direction with the most feeling of resistance is folding across the grain, and the direction that folds easiest is folding with the grain. Here are some other methods of determining grain direction. Here is an explanation for why paper has grain.

Permanence

Another consideration in choosing a paper is whether or not it is acid free, but most paper available is. Acid free means PH neutral or alkaline, and so there is no acidity in the paper that will yellow and otherwise degrade it over time. But for even greater longevity you may choose a paper that is a bit on the alkaline side, so that as the natural acidity of the environment interacts with the paper, it has a reserve of alkalinity that prolongs the paper life before yellowing and otherwise degrading and falling apart.

Also, consider what you put on the page, as some inks won't be acid free or archival. This isn't just an "Oh, by the way," but is really an important consideration for any writing or drawing you hope will be around for your great-great-great grandchildren.

Anything to add to the discussion? Please leave a comment.

Friday, April 20, 2012

Bookbinding 101: Materials

You can make books out of anything. Reclaimed wood, aluminum cans, banana leaves, cereal boxes, butterfly wings, rusty hinges, fishing flies -- really, whatever you want to use can be used in the process of making a book. But in this 101 series of posts we're not going to get into the more creative materials you might use, but set a foundation of understanding for constructing basic book structures using more traditional materials, and from there you may branch out into a birdcage and canary grass book (or whatever) if you wish to.


All the materials in the following list can be replaced with something else, and some structures we don't cover in 101 will require additional materials, but for the present course, this is what we will discuss:


We'll discuss the materials in greater detail in upcoming posts.

Anything to add to the discussion? Please leave a comment.

Thursday, April 12, 2012

Bookbinding 101: Glueing and Clamping Tools

For applying glue, just about any kind of brush will get the job done, choosing a size depending on the surface area you are applying glue to. However, we find that foam brushes work better to pick up extra glue than they do for applying it. For getting started, nothing beats buying a bag of cheap artist brushes of varying sizes. Some book binders do prefer a traditional round glue brush, and we've also heard of someone who likes using a shaving brush. For the flat surface of a book cover, you can also use a scrap piece of book board to lay down and/or smooth out the glue, using it like a squeegee or putty knife.

In time you'll develop your own preferences, but to begin, just grab a cheap brush, or a piece of book board, and you are all set for laying down your glue.

Wax paper is a great shield to keep glue from dripping and sticking to the pages of your book. Tear a sheet off, and place it inside the front cover before you begin glueing, making sure it is large enough to hang over and protect your pages. When applying any glue inside the cover, the wax paper prevents the glue from sticking to your first page, and peels off fairly easily after the glue has set. Waxed paper also acts as a moisture barrier, preventing your pages from warping while glued down end papers are drying.

Clamps can act as a third hand to hold a book up while you work on it, or they can be a cheaper and more portable alternative to a press for smaller books. Spring clamps are fairly inexpensive and we use them frequently.

Spring Clamps
Wooden Handscrew
Clamp
We also occasionally use a wooden handscrew clamp or two. A bit clumsy, and a bit heavy, but being something we have on hand it works pretty well. 

Anything to add to the discussion? Please leave a comment.


Wednesday, April 11, 2012

L.A. Workshop Discount

Los Angeles, CA
May 7 - 12, 2012
Just a few more days left!
Purchase the entire week of L.A. Book Art Workshops (6 days, 8 workshops) for only $550! Regular price is $850.

Workshop details

To purchase, please click the button immediately below - offer ends April 14th:

Thursday, April 5, 2012

Bookbinding 101: Hole Punching Tools


For making largish holes in leather and book board you can use a hollow punch (shown at left), which has a sharpened tube shaped hole on one end, and a flat head on the other end. Ours has replaceable tips for different size holes, but some hollow punches come in sets with a different punch for a different size hole.

To make a hole, place something underneath your material, something soft but dense, such as a scrap of book board, or an old phone book or catalog. Make sure it's thick enough to allow the punch to go into without going all the way through. You may also wish to avoid punching holes anywhere that if it does go all the way through it won't leave a hole where you don't want one (kitchen table, etc).

Next, place the hollow end of the punch on your material where you want a hole, hold the punch vertical, and hit the flat head with a hammer. Hit it hard. Repeat as needed. It can be a chore, but, as it requires wielding a hammer, it can also be satisfying.


Crop-A-Dile I
Nowadays we use a Crop-A-Dile, which speeds things up considerably, doesn't wake the neighbors, and makes the chore of punching a lot of holes less of a chore. However, just like getting a dishwasher after washing by hand, it doesn't take long before the ease of doing dishes, or punching holes, becomes a chore again. Cure: use the hollow punch and hammer to punch a lot of holes, then the Crop-A-Dile becomes a dream to use again.

The Crop-A-Dile comes in three flavors, designated by a I, II, or III, only two of which are for hole punching. (The Crop-A-Dile III, or Main Squeeze, is not for hole punching, but for die cutting, embossing, attaching corners and setting squeeze tabs. What's a squeeze tab?)

Crop-A-Dile II
The Crop-A-Dile I (original) and II (or Big Bite) both punch holes of two sizes, 1/8", and  3/16". They also set snaps and eyelets, which is handy. The main advantage of the Big Bite is it has a 6" reach, while the original can only punch 1" from the edge of your material. The great majority of our holes are punched with the original, but sometimes we need that 6" reach.

There is one style of book, a quasi-longstitch, for which we use the Crop-A-Dile I to punch holes in signatures (a group of pages). But, for most styles of books we use an awl for this job. However, it could be used to punch holes in pages of other book styles too. Just depends on what you like.

With our Crop-A-Dile I we have punched tens thousands of holes in book board and leather. And it's still going strong.

Japanese screw punch
Another tool is the Japanese screw punch. Some bookbinders really love it. It looks much like a hollow punch, but instead of hitting it hard, you push down, and as you push, it twists on a screw, increasing its punching power.


Leather hole punch
One final hole making tool is a leather hole punch. We don't use one, but only because we don't have one, and only because we have a Crop-A-Dile.


Anything to add to the discussion? Please leave a comment.