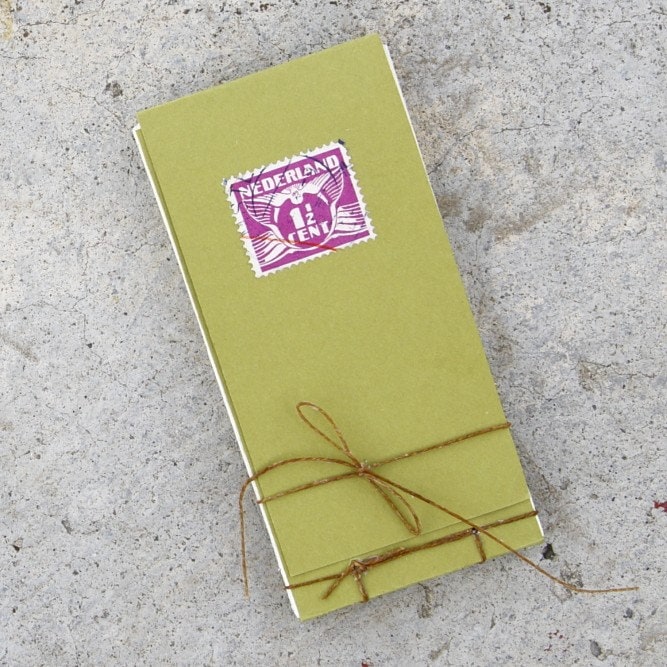
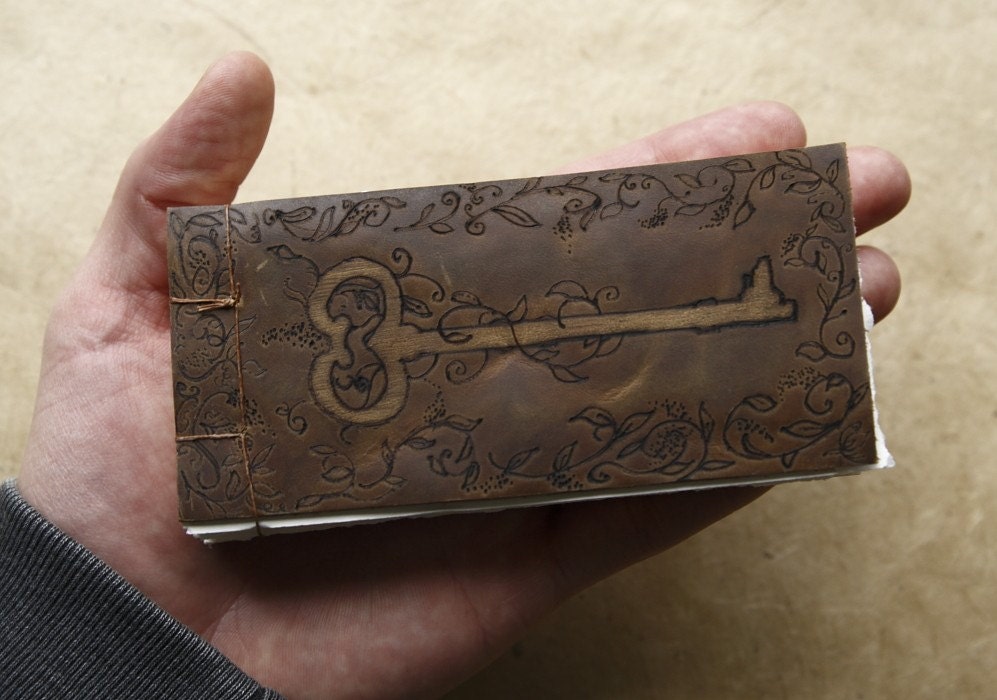
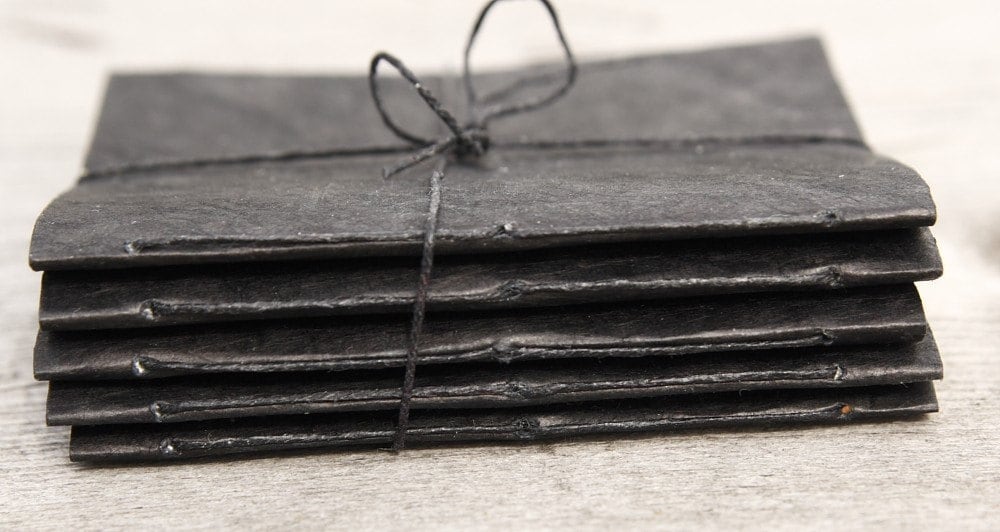
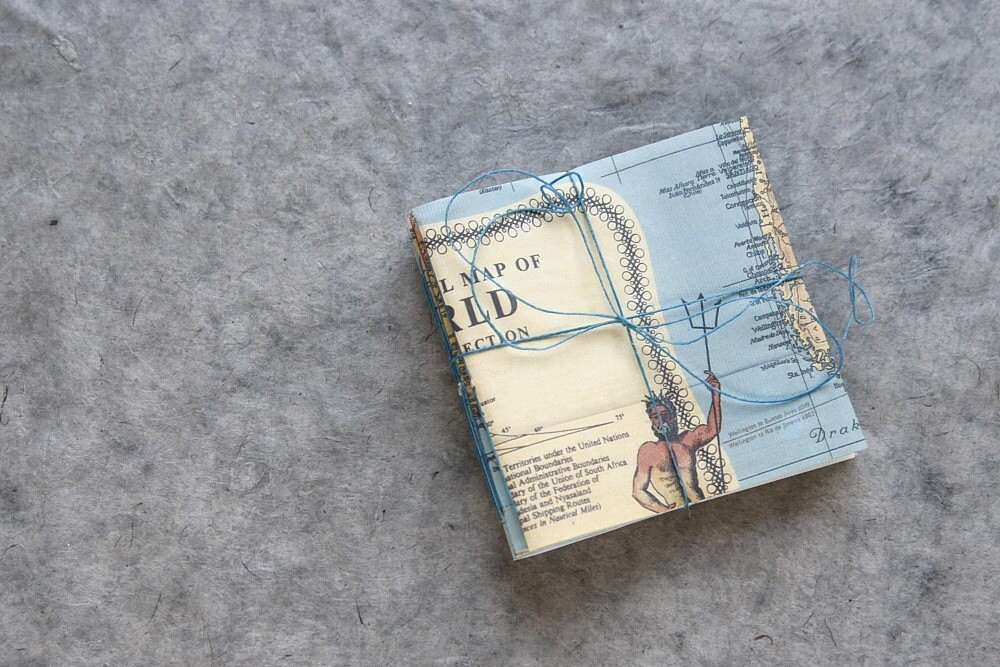
So excited to make circle accordions and pop up books in tomorrow night's book arts class here in Ephraim! Check out this music video. Love it!
Wednesday, March 30, 2011
Tuesday, March 29, 2011
The Little Red Wagon...not so little.
My boys love riding in their little red wagon and I love it because it holds the groceries well!
Check out those tires though! This "little" red wagon is updated with monster truck tires, not like the small metal tires of yesteryear. Smooth riding, I'm sure they'll come with shock systems next. This photo was taken last Autumn...I'm missing the green grass.
Japanese Side Stitch Books -Class in One week!
Class at Provo Art & Frame
Japanese Side Stitch Books
Tuesday, April 5th
6-8pm
Also known as Japanese stab bound books, pouch books, four hole and they have several variations. I'll teach the traditional four hole and show variations including Kangxi, Asa-no-ha toji and Kikko toji.
Instruction will be given and then you can make as many Japanese Stab Bound Books as you can in the remaining time!
We'll be using printed and handmade papers from all over the world! Class fee is $5. Please bring the following tools with you (everything else is provided!)
Friday, March 18, 2011
Chapbooks at Provo Art & Frame
Book Arts Classes start up at Provo Art & Frame on Tuesday, March 22nd and will be every other Tuesday throughout the year.
This first class is only $5 and we'll be making chapbooks. Chapbooks are great for everything and you'll never purchase a spiral notebook after making one! Chapbooks make great gifts (you can ask my mom).
Chapbooks can be as small as 1/2" x 1/4" (for doll houses I suppose, as it would be really difficult to write that small) and as large as you're materials allow. My favorite size of chapbook is either a 3" x 3" or a 6" x 8".
Chapbooks can be covered with anything: Fabric, Leather, Paper, Cereal Boxes, plastic sheets....
We'll be using printed and handmade papers from all over the world to make our chapbooks. The $5 covers the materials costs and you can make as many chapbooks as possible in 1.5 hours!
Bring a friend and a few tools:
I'll bring my postage stamp collection, papers from around the world, thread and ribbons to help you in designing wonderful unique chapbooks. If you have anything you want to use on your books, bring it along.
The class starts at 6:30pm and we'll go until 8pm.
I'd love to hear from you if you're coming to help me prepare tables and chairs beforehand. You can contact me at KarleighJae@yahoo.com
All those who attend this first class will receive a 50% off coupon to another book arts class this year!
This first class is only $5 and we'll be making chapbooks. Chapbooks are great for everything and you'll never purchase a spiral notebook after making one! Chapbooks make great gifts (you can ask my mom).
Chapbooks can be as small as 1/2" x 1/4" (for doll houses I suppose, as it would be really difficult to write that small) and as large as you're materials allow. My favorite size of chapbook is either a 3" x 3" or a 6" x 8".
Chapbooks can be covered with anything: Fabric, Leather, Paper, Cereal Boxes, plastic sheets....
We'll be using printed and handmade papers from all over the world to make our chapbooks. The $5 covers the materials costs and you can make as many chapbooks as possible in 1.5 hours!
Bring a friend and a few tools:
- pencil
- metal edged ruler
- cutting mat or a thick magazine to cut on
- scissors
- an exacto type knife with extra blades
- bone folder (Available at Provo Art & Frame)
- a magazine to be thrown away (this will be used as a glue station)
- paper or notebook to take notes if you wish
I'll bring my postage stamp collection, papers from around the world, thread and ribbons to help you in designing wonderful unique chapbooks. If you have anything you want to use on your books, bring it along.
The class starts at 6:30pm and we'll go until 8pm.
I'd love to hear from you if you're coming to help me prepare tables and chairs beforehand. You can contact me at KarleighJae@yahoo.com
Wednesday, March 16, 2011
A few new custom orders
Just a peek....if you want to know more about them you can visit my custom order blog by clicking here.
Reminder about tomorrow's class!
The Ephraim, UT bookbinding class starts tomorrow, Thursday, March 17th at 6pm.
To register for the class contact Wendy Sanders with the continuing education department.
You can view more about the class on this blog post here.
The class is held at West Campus HiTec Room 119.
To register for the class contact Wendy Sanders with the continuing education department.
You can view more about the class on this blog post here.
The class is held at West Campus HiTec Room 119.
A tapes bound book in the works!
This is a follow up post for Rob who asked a question from my last tapes bound post.
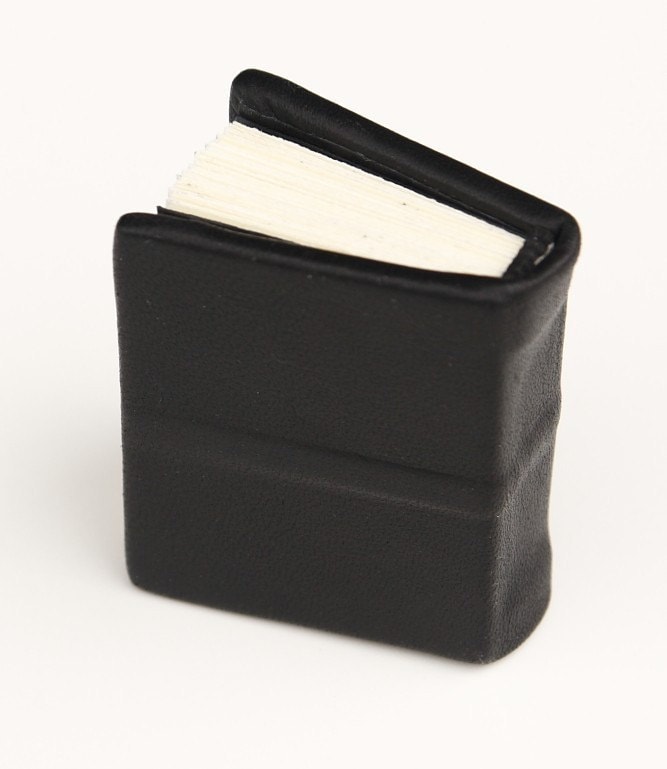
This photo below shows a tiny book that was recently purchased from my shop. The tape I used was actually a strip of linen bookcloth that I cut down to the size I wanted. I sewed the tapes onto the spine while I was sewing the book. If you're interested in how to do this, it's very similar to the cord bound sewing which can be found on a past post by clicking here. You would just replace the cords with tapes. For such a small book, I don't bother with a sewing frame, I just place the tape onto the spine and sew over it as the book is in my hands. Since this book is so small, I can get away with using a 1/4" wide piece of tape and just having one tape to hold the text block to the cover. On larger books, I use wider tape or more of them to give the text block more support with the covers.
This particular little book was done differently than a traditional tapes. The tapes on this book were brought across the cover and glued. I then tooled around the leather to create the stripe on the front of the book as shown in the last photo. Since I wanted the stripe to stand out on the cover, I used two pieces of the linen bookcloth tape to build it up. Typically, I would just use one tape, but I wanted it to stand out. One tape was glued down and the other right on top of it across the cover as shown below. So, it looks as though only one tape was used.
This photo below shows a tiny book that was recently purchased from my shop. The tape I used was actually a strip of linen bookcloth that I cut down to the size I wanted. I sewed the tapes onto the spine while I was sewing the book. If you're interested in how to do this, it's very similar to the cord bound sewing which can be found on a past post by clicking here. You would just replace the cords with tapes. For such a small book, I don't bother with a sewing frame, I just place the tape onto the spine and sew over it as the book is in my hands. Since this book is so small, I can get away with using a 1/4" wide piece of tape and just having one tape to hold the text block to the cover. On larger books, I use wider tape or more of them to give the text block more support with the covers.
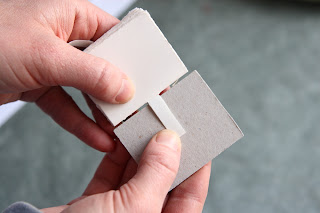
To connect the tapes to the cover, I place the tapes on the inside of the cover like this photo shows below and I glue it there.
This particular little book was done differently than a traditional tapes. The tapes on this book were brought across the cover and glued. I then tooled around the leather to create the stripe on the front of the book as shown in the last photo. Since I wanted the stripe to stand out on the cover, I used two pieces of the linen bookcloth tape to build it up. Typically, I would just use one tape, but I wanted it to stand out. One tape was glued down and the other right on top of it across the cover as shown below. So, it looks as though only one tape was used.
This book was one that was made a few years ago but it's the same book that I make and sell in my shop. You can see more photos of this book here.
Thursday, March 10, 2011
We're creating a bookbinding dvd!!
So excited! I'll give more information on it at a later date as it's a big project. But for now, I'd like to know if there's interest in learning certain types of books.
To the right, you'll see that I listed every structure (I could think of off the top of my head) that I could demonstrate in the video. The video will have 15 or so book structures taught. You can choose your favorites from the list on the right (you can choose several if you like!)
If a structure is not on there that you want to learn, please let me know in the comments!
This will help me to determine which structures to teach for the dvd. Thanks!
Tuesday, March 1, 2011
Want to learn some new techniques?
Here's a happy student (isn't she so cute?!) from my Snow College class this past Autumn Semester. She made that accordion with pockets book and brought it back the following week half way filled. Made me feel guilty about not writing in my journal!
My smile is as big as hers right now. I'm so excited to hear that my class is full for the Focus on Book Arts conference. Hooray! So, I'll definitely be heading up to Portland at the end of June.
The Snow College Class starts in a few weeks (March 17th) so register now! To learn more about that class visit this previous blog post.
I'm also starting up classes again at PROVO ART & FRAME in Provo, UT on March 22nd and continuing through the summer every other Tuesday. If there is a book style or technique you would like to learn please contact me or request it in the comments and we'll set up the class for you!
I'm also putting on an ETSY Workshop on March 26th. Information below, feel free to ask questions!
I also get to teach a book arts class tonight with the Relief Society Sisters in my area. I love teaching others what I love to do!
Subscribe to:
Comments (Atom)


